本文最后更新于 2026年7月8日 晚上
一位B站粉丝,问我后端Java和前端Vue,如何实现一个简单的签到功能,在吃了顿大餐后,顺便也把主要过程分享一下。
如果一个系统,想要实现签到功能,相信大多数人的第一反应都是Redis或者MySQL数据库。而使用Redis的Bitmap位图,主要是对资源的利用比较小,接下来就来详解一下啦。
为什么使用位图
位图,其实就是基于位的映射。BitMap 的基本原理就是用一个bit 位来存放某种状态,适用于大规模数据,但数据状态又不是很多的情况。通常是用来判断某个数据存不存在的。
举个例子,我们用bit的0和1来作为签到状态的有无,那么8天的签到数据就是8bit(1B),1个月的数据就是4B左右,也就是一个月一个用户的签到数据为4字节(4B)。

前置依赖
总体上,我们将前后端分别部署在腾讯云的服务器上,中间件使用Redis进行签到信息的持久化存储,需要注意⚠️,Redis设置的有效期,我们设置为永不过期。
后端
这里介绍一下生产开发的环境,首先是后端:
- JDK版本:ZuluOpenJDK 11
- Maven骨架
- Redis
我这里使用Maven进行项目依赖包的管理,并使用了SpringBoot自带的Redis依赖驱动:
1
2
3
4
5
|
<dependency>
<groupId>org.springframework.boot</groupId>
<artifactId>spring-boot-starter-data-redis</artifactId>
</dependency>
|
对Redis进行序列化:
1
2
3
4
5
6
7
8
9
10
11
12
13
14
15
16
17
18
19
20
21
22
23
24
25
26
27
28
|
@Configuration
public class RedisConfig {
@Bean
public RedisTemplate<String, Object> redisTemplate(RedisConnectionFactory factory) {
RedisTemplate<String, Object> template = new RedisTemplate<>();
template.setConnectionFactory(factory);
Jackson2JsonRedisSerializer jackson2JsonRedisSerializer = new Jackson2JsonRedisSerializer(Object.class);
ObjectMapper om = new ObjectMapper();
om.setVisibility(PropertyAccessor.ALL, JsonAutoDetect.Visibility.ANY);
om.activateDefaultTyping(LaissezFaireSubTypeValidator.instance,
ObjectMapper.DefaultTyping.NON_FINAL, JsonTypeInfo.As.PROPERTY);
jackson2JsonRedisSerializer.setObjectMapper(om);
StringRedisSerializer stringRedisSerializer = new StringRedisSerializer();
template.setKeySerializer(stringRedisSerializer);
template.setHashKeySerializer(stringRedisSerializer);
template.setValueSerializer(jackson2JsonRedisSerializer);
template.setHashValueSerializer(jackson2JsonRedisSerializer);
template.afterPropertiesSet();
return template;
}
}
|
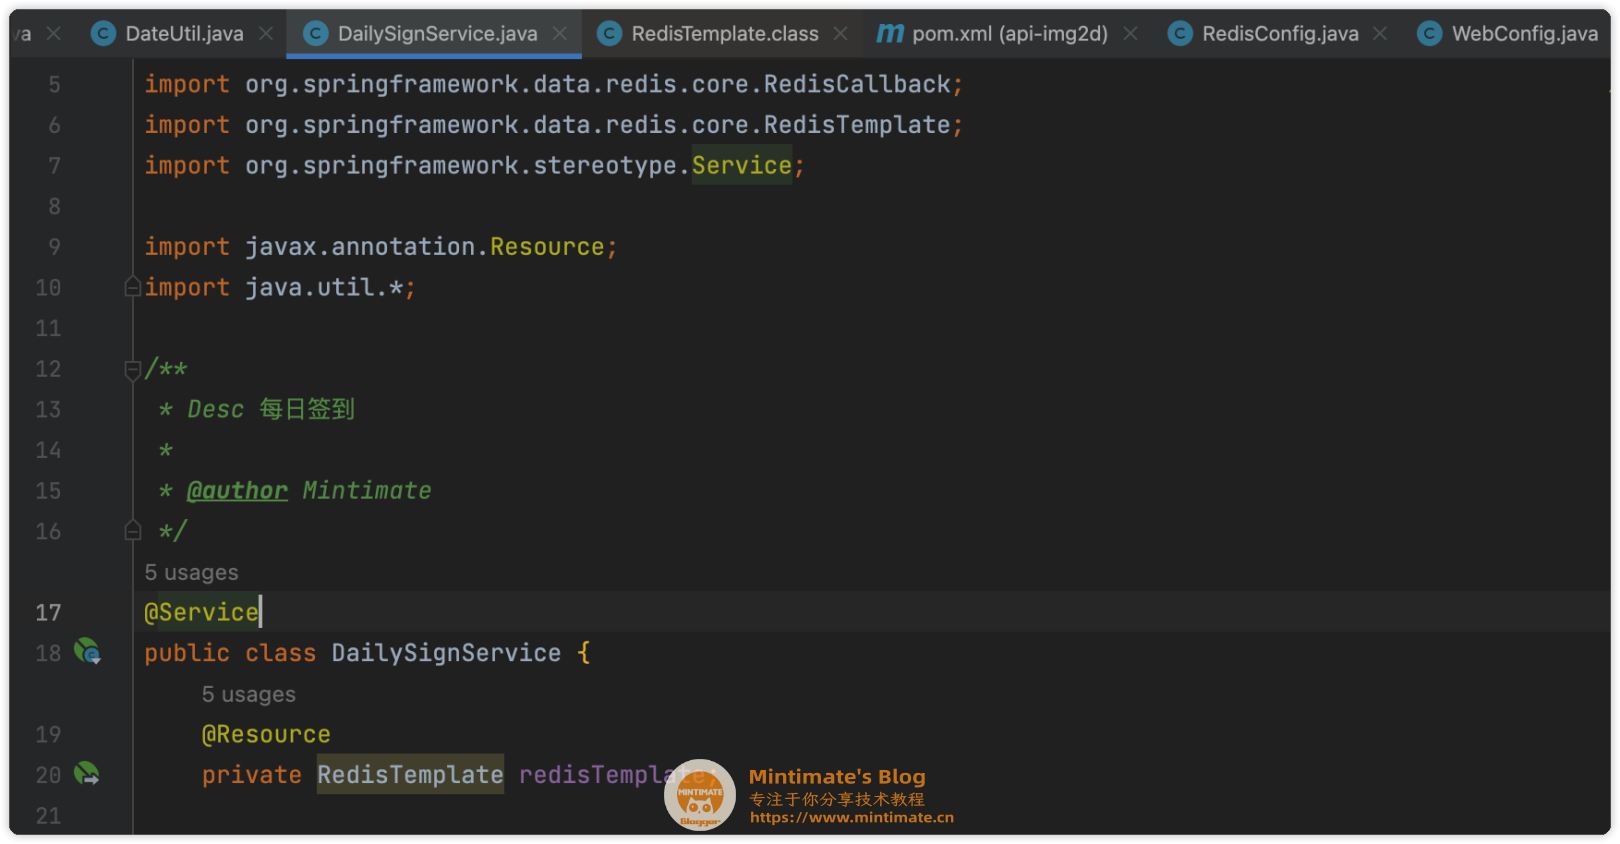
并且,我们创建一个签到的工具包,方便我们调用:
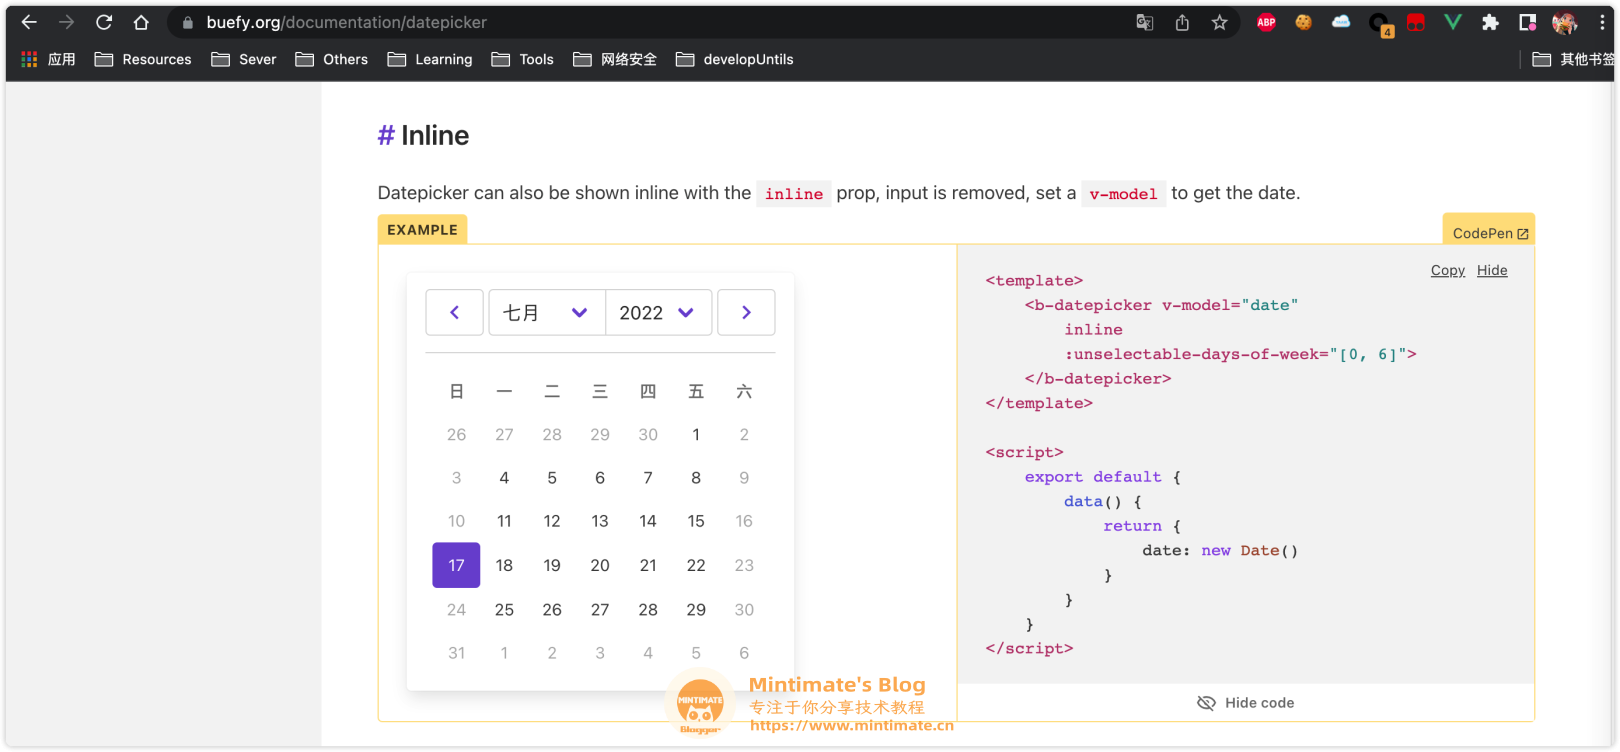
前端
而对于前端,我使用的目前还是Vue2,并且使用组件Buefy的日期:
Redis签到
我们使用Redis的Bitmap进行签到,使用org.springframework.data.redis.core包下的opsForValue进行签到信息映射;
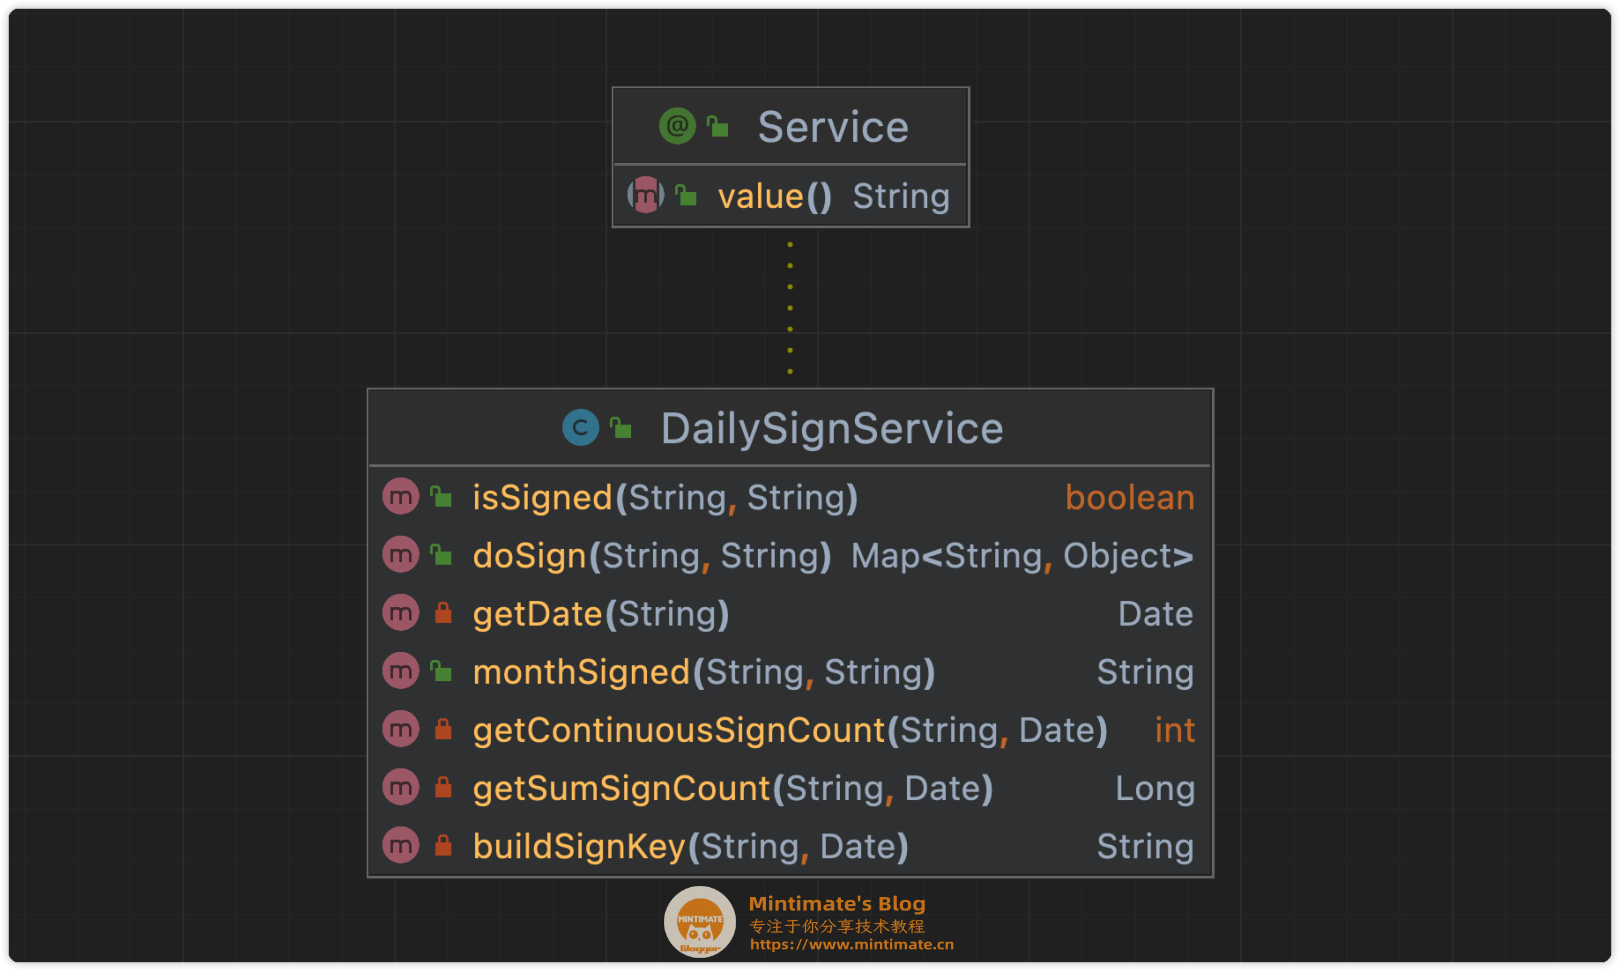
其中,公共方法:
isSigned:传入用户Key和校验签到日期,判断是否有签到。daSign:传入用户信息和需要签到的日期,返回签到结果(连续签到天数等)monthSigned:传入用户Key和校验签到月份,返回当月签到情况详情。
而签到的信息,我们使用日期工具包构建用户的签到结果集合key,并设置Bitmap数值。
构建用户的签到key:
1
2
3
4
5
6
7
8
9
10
11
|
private String buildSignKey(String userId, Date date) {
return String.format("img2d_user_daily_sign:%s:%s", userId,
DateUtil.format(date, "yyyyMM"));
}
|
实际上,就是构建用户的Redis的key:
比如:2022年5月,用户雪花ID为1452998090465296386的key:

而Redis内存储的value就是我们的Bitmap数据。
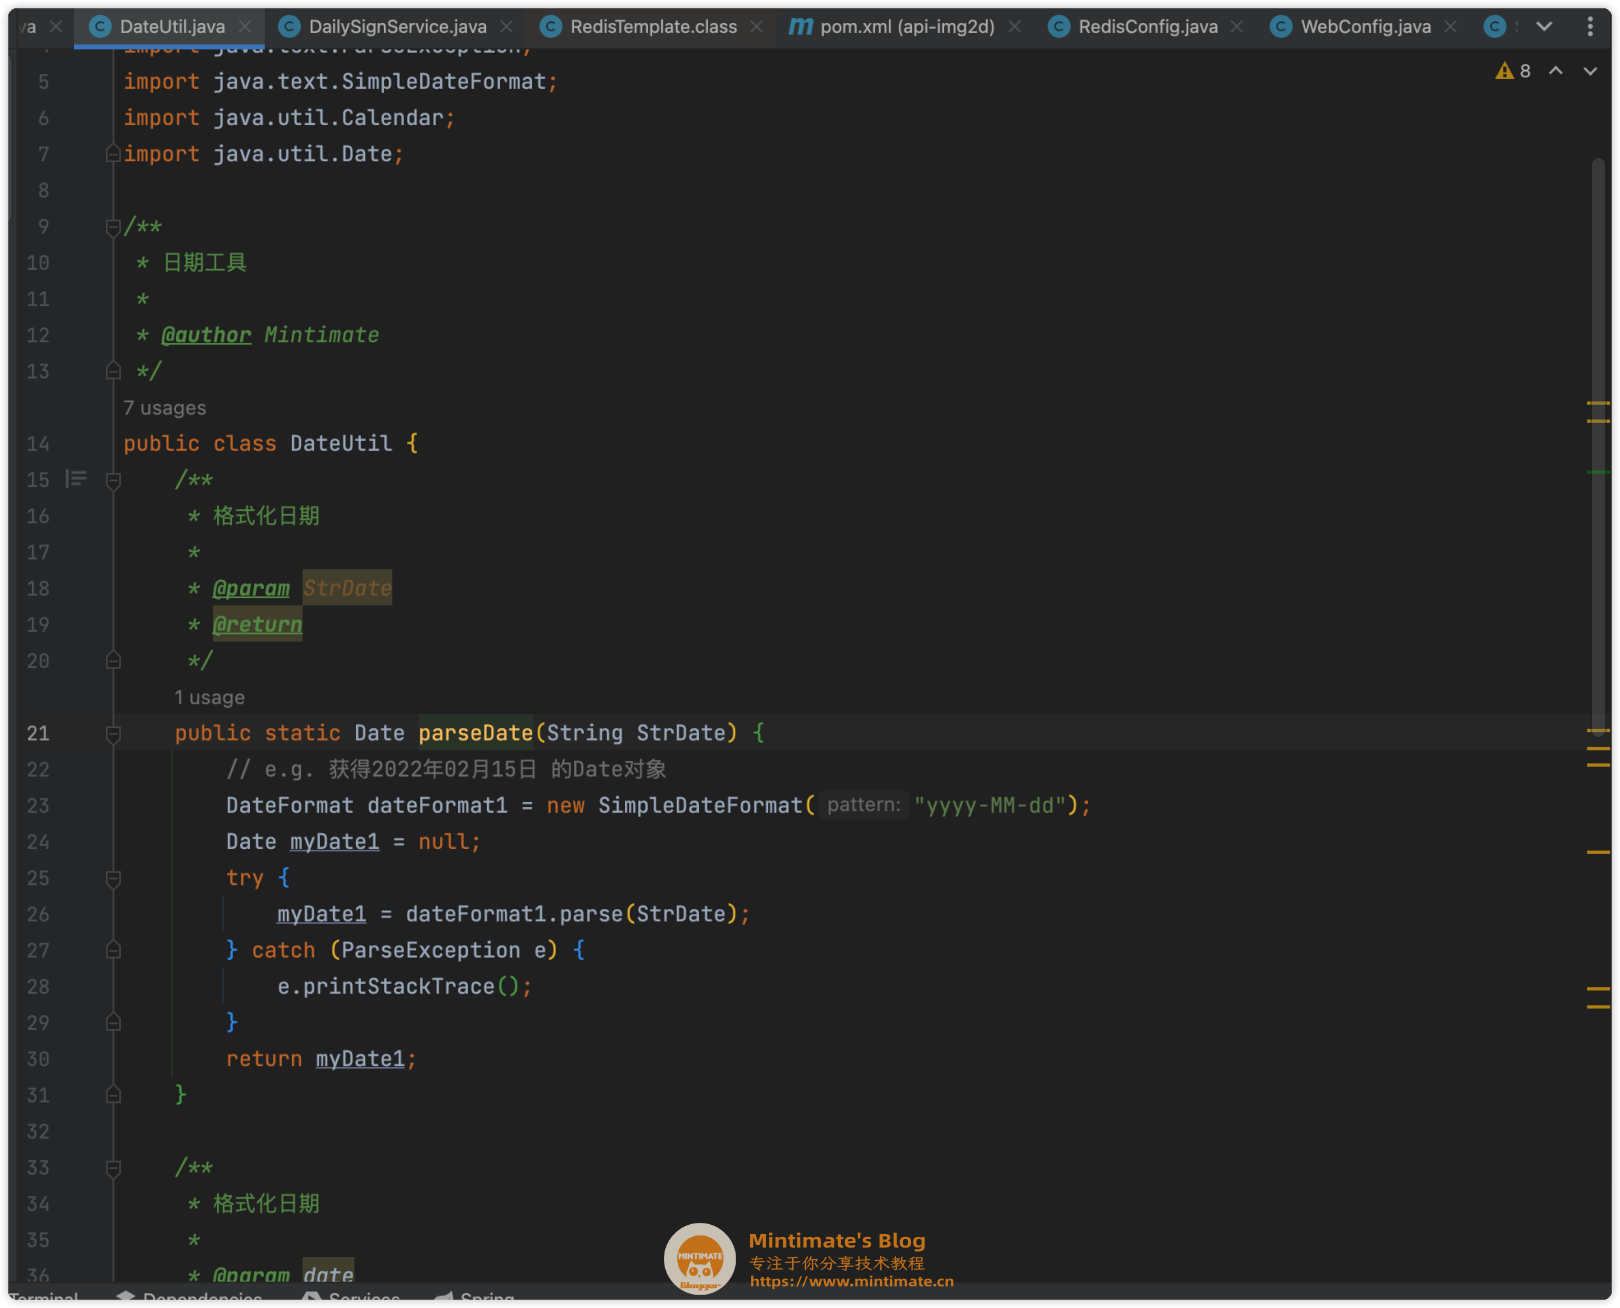
日期工具包
首先,在正式构建业务逻辑前,我们需要设计几个日期工具包的方法包,首先是用户获取当前的时间:
1
2
3
4
5
6
7
8
9
10
|
private Date getDate(String dateStr) {
return Objects.isNull(dateStr) ?
new Date() : DateUtil.parseDate(dateStr);
}
|
DateUtil是我自己写的日期方法:
1
2
3
4
5
6
7
8
9
10
11
12
13
14
15
16
17
18
19
20
21
22
23
24
25
26
27
28
29
30
31
32
|
public static Date parseDate(String StrDate) {
DateFormat dateFormat1 = new SimpleDateFormat("yyyy-MM-dd");
Date myDate1 = null;
try {
myDate1 = dateFormat1.parse(StrDate);
} catch (ParseException e) {
e.printStackTrace();
}
return myDate1;
}
public static String format(Date date, String format) {
DateFormat dateFormat1 = new SimpleDateFormat(format);
String myDate1 = dateFormat1.format(date);
return myDate1;
}
|
这样,就可以获取当天时间的yyyy-MM-dd格式了。当然,我们使用Bitmap进行数据存储,就需要判断签到月份有几个天数,进而生成Bitmap类型的String(Redis内,Bitmap本质使用String进行存储),所以在DateUtil工具包内追加:
1
2
3
4
5
6
7
8
9
10
11
|
public static int dayOfMonth(Date date) {
Calendar calendar = Calendar.getInstance();
calendar.setTime(date);
return calendar.get(Calendar.DATE);
}
|
最后的结果:
用户签到
我们使用刚刚构建的工具包,记得完成签到业务,并且可以进行补签:
1
2
3
4
5
6
7
8
9
10
11
12
13
14
15
16
17
18
19
20
21
22
23
24
25
26
27
28
29
30
31
32
33
34
35
|
public Map<String, Object> doSign(String userId, String dateStr) {
Map<String, Object> result = new HashMap<>();
Date date = getDate(dateStr);
int day = DateUtil.dayOfMonth(date) - 1;
String signKey = buildSignKey(userId, date);
if (isSigned(userId,dateStr)) {
result.put("message", "当前日期已完成签到,无需再签");
result.put("code", 400);
return result;
}
redisTemplate.opsForValue().setBit(signKey, day, true);
Date today = new Date();
int continuous = getContinuousSignCount(userId, today);
long count = getSumSignCount(userId, today);
result.put("message", "签到成功");
result.put("code", 200);
result.put("continuous", continuous);
result.put("count", count);
return result;
}
|
我这里并没有封装结果集,所以使用Map进行回传。
连续判断
如何判断用户连续签到几天呢?有一个简单的方法:位移计算。
1
2
3
4
5
6
7
8
9
10
11
12
13
14
15
16
17
18
19
20
21
22
23
24
25
26
27
28
29
30
31
32
33
34
35
36
37
38
39
40
41
|
private int getContinuousSignCount(String userId, Date date) {
int dayOfMonth = DateUtil.dayOfMonth(date);
String signKey = buildSignKey(userId, date);
BitFieldSubCommands bitFieldSubCommands =
BitFieldSubCommands.create()
.get(BitFieldSubCommands.BitFieldType.unsigned(dayOfMonth))
.valueAt(0);
List<Long> list = redisTemplate.opsForValue().bitField(signKey, bitFieldSubCommands);
if (list == null || list.isEmpty()) {
return 0;
}
int signCount = 0;
long v = list.get(0) == null ? 0 : list.get(0);
for (int i = dayOfMonth; i > 0; i--) {
if (v >> 1 << 1 == v) {
if (i != dayOfMonth) break;
} else {
signCount++;
}
v >>= 1;
}
return signCount;
}
|
再写一个方法,方便我们调用:
1
2
3
4
5
6
7
8
9
10
11
12
13
14
15
|
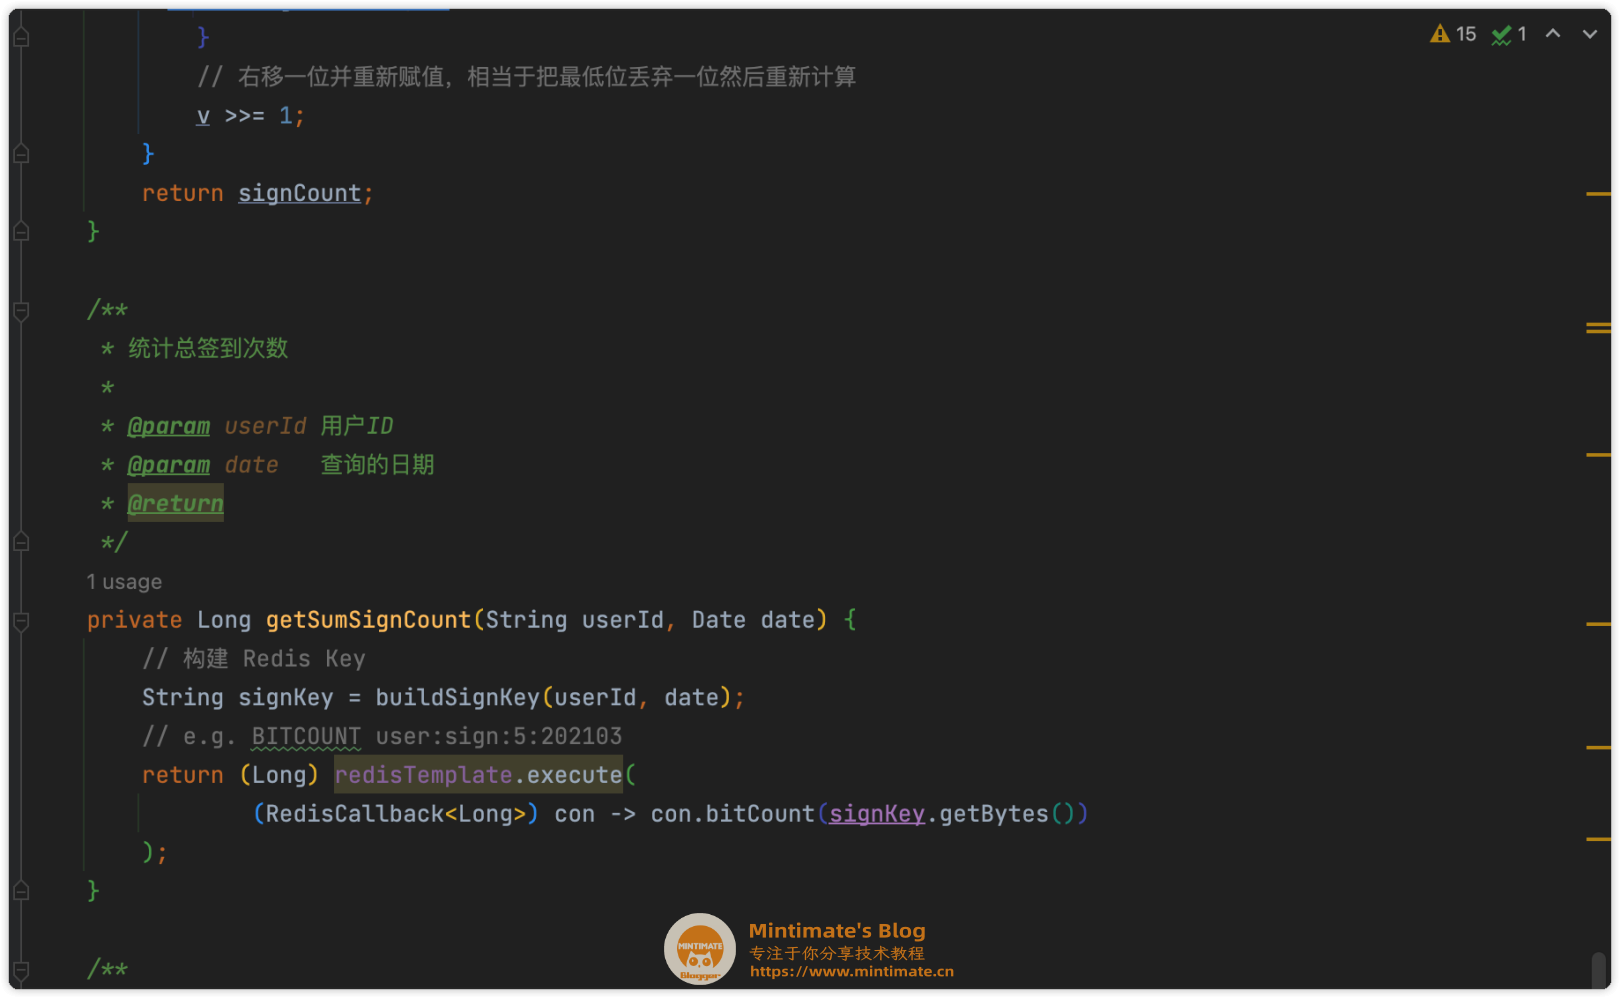
private Long getSumSignCount(String userId, Date date) {
String signKey = buildSignKey(userId, date);
return (Long) redisTemplate.execute(
(RedisCallback<Long>) con -> con.bitCount(signKey.getBytes())
);
}
|
最后结果:
签到详情
这里我们还需获取月份对应的签到详情,我们可以这样:
1
2
3
4
5
6
7
8
9
10
11
12
13
14
15
| public String monthSigned(String userId,String dateStr){
Date date = getDate(dateStr);
String signKey = buildSignKey(userId, date);
int dayOfMonth = DateUtil.dayOfMonth(date);
BitFieldSubCommands bitFieldSubCommands = BitFieldSubCommands.create()
.get(BitFieldSubCommands.BitFieldType.unsigned(dayOfMonth))
.valueAt(0);
List<Long> list = redisTemplate.opsForValue().bitField(signKey, bitFieldSubCommands);
String total=Long.toBinaryString(list.get(0));
return total;
}
|
需要注意List<Long> list = redisTemplate.opsForValue().bitField(signKey, bitFieldSubCommands);获取的数值,是会去除前面的零。
效果
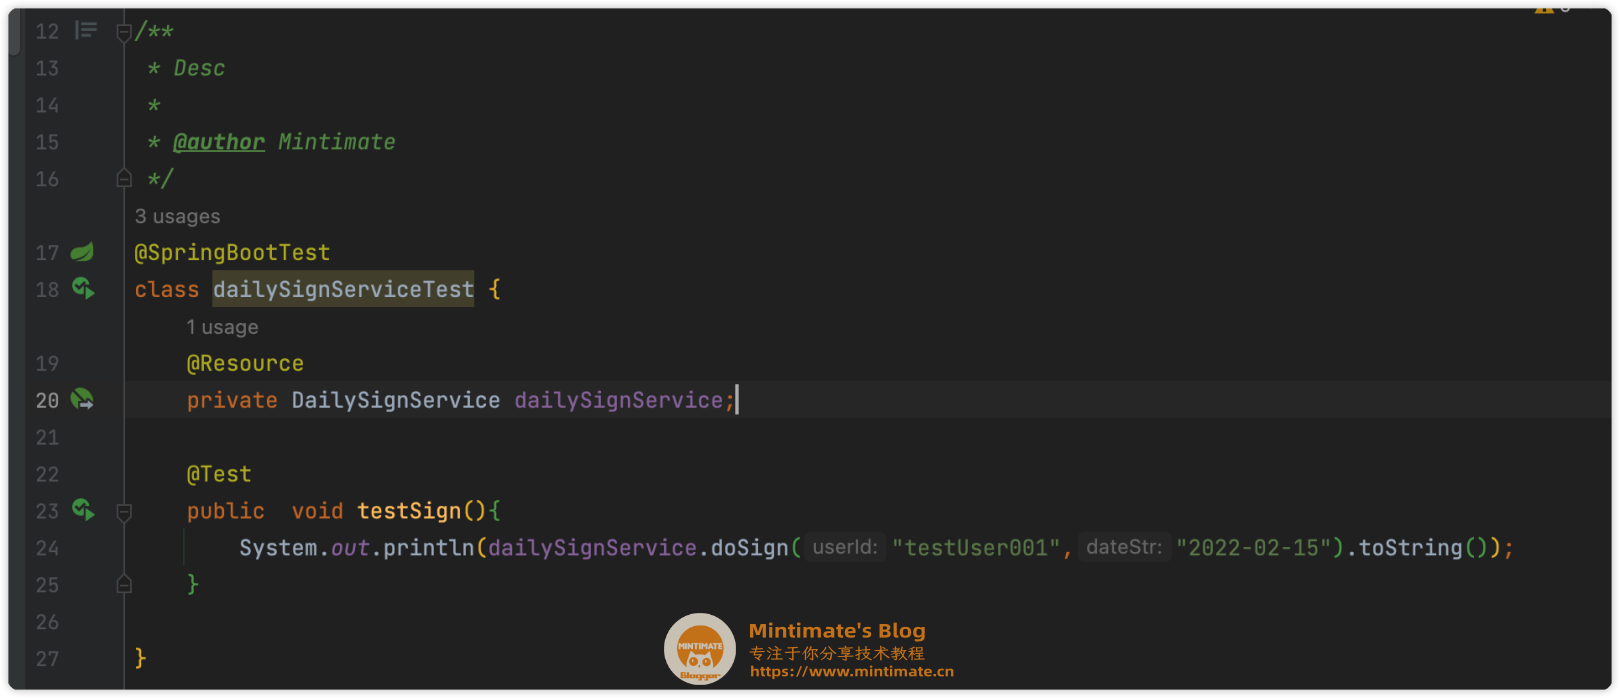
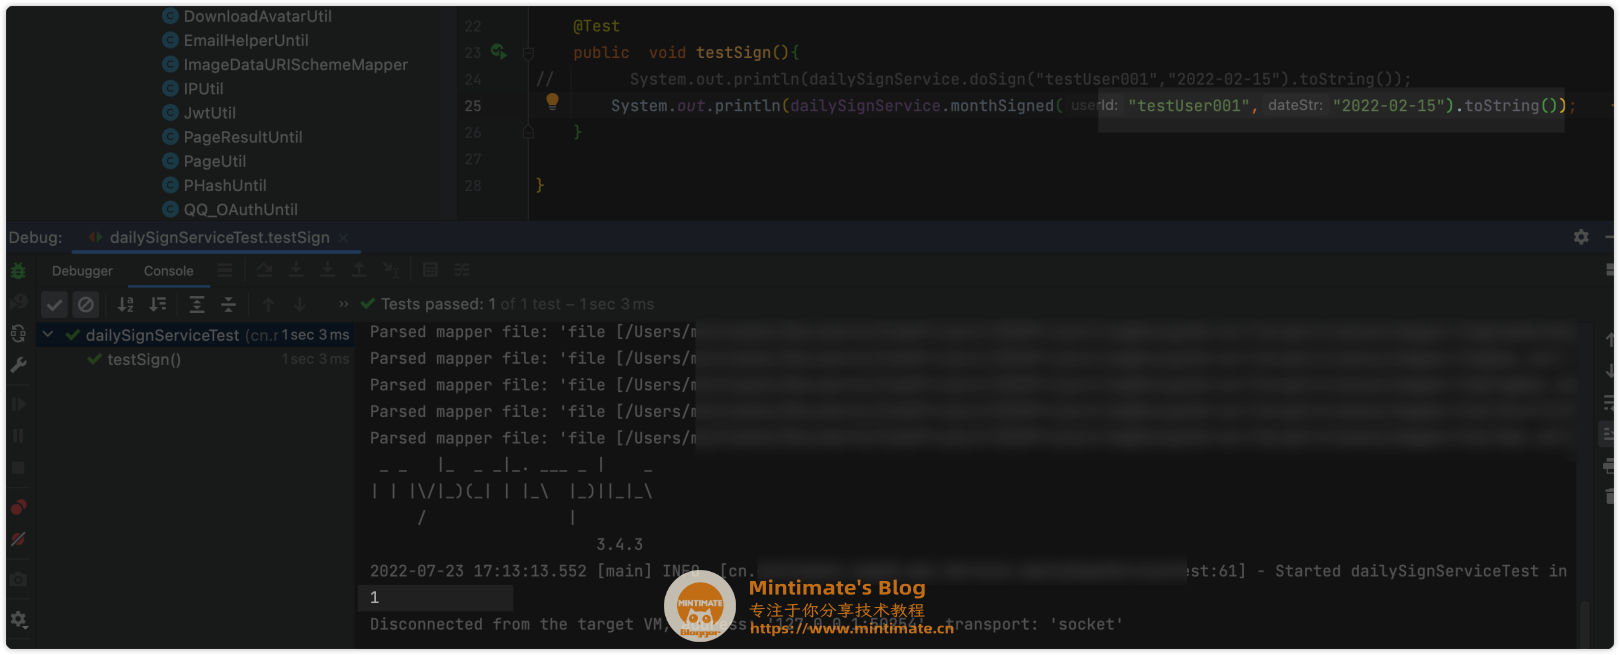
我们编写一个测试类,打印输出试试看:
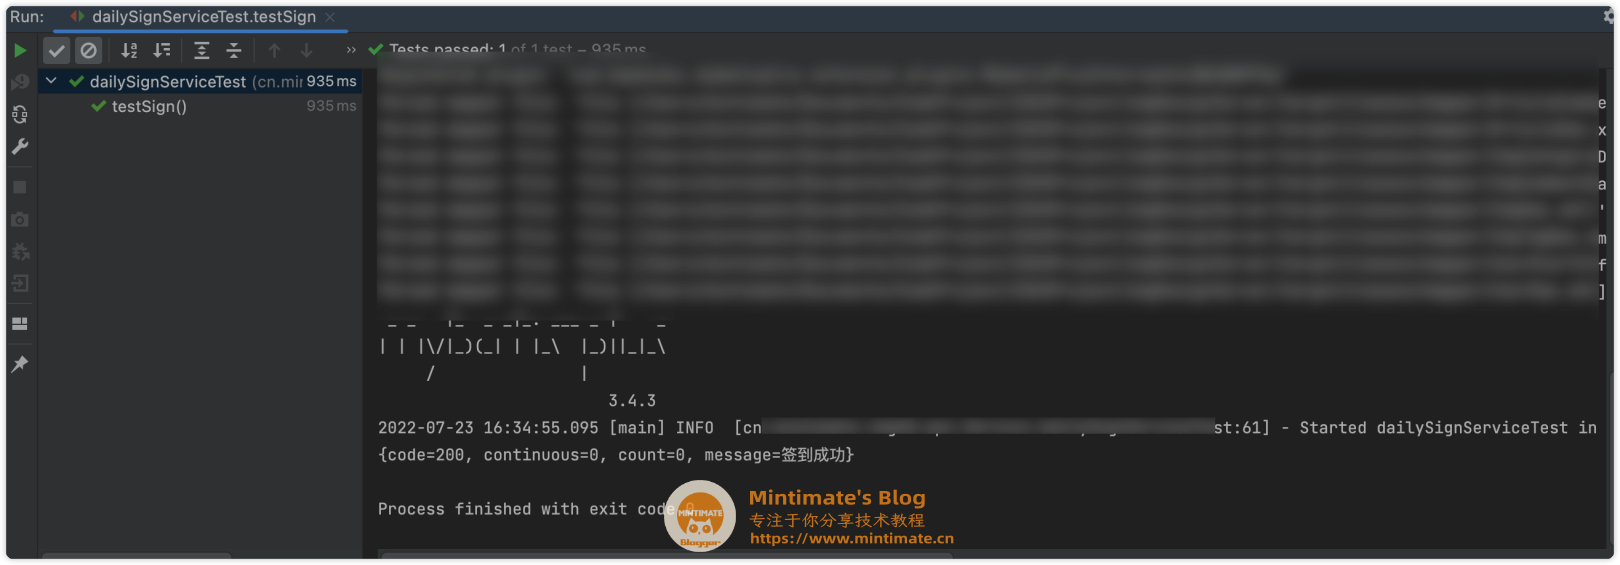
运行后:
Redis内存储:
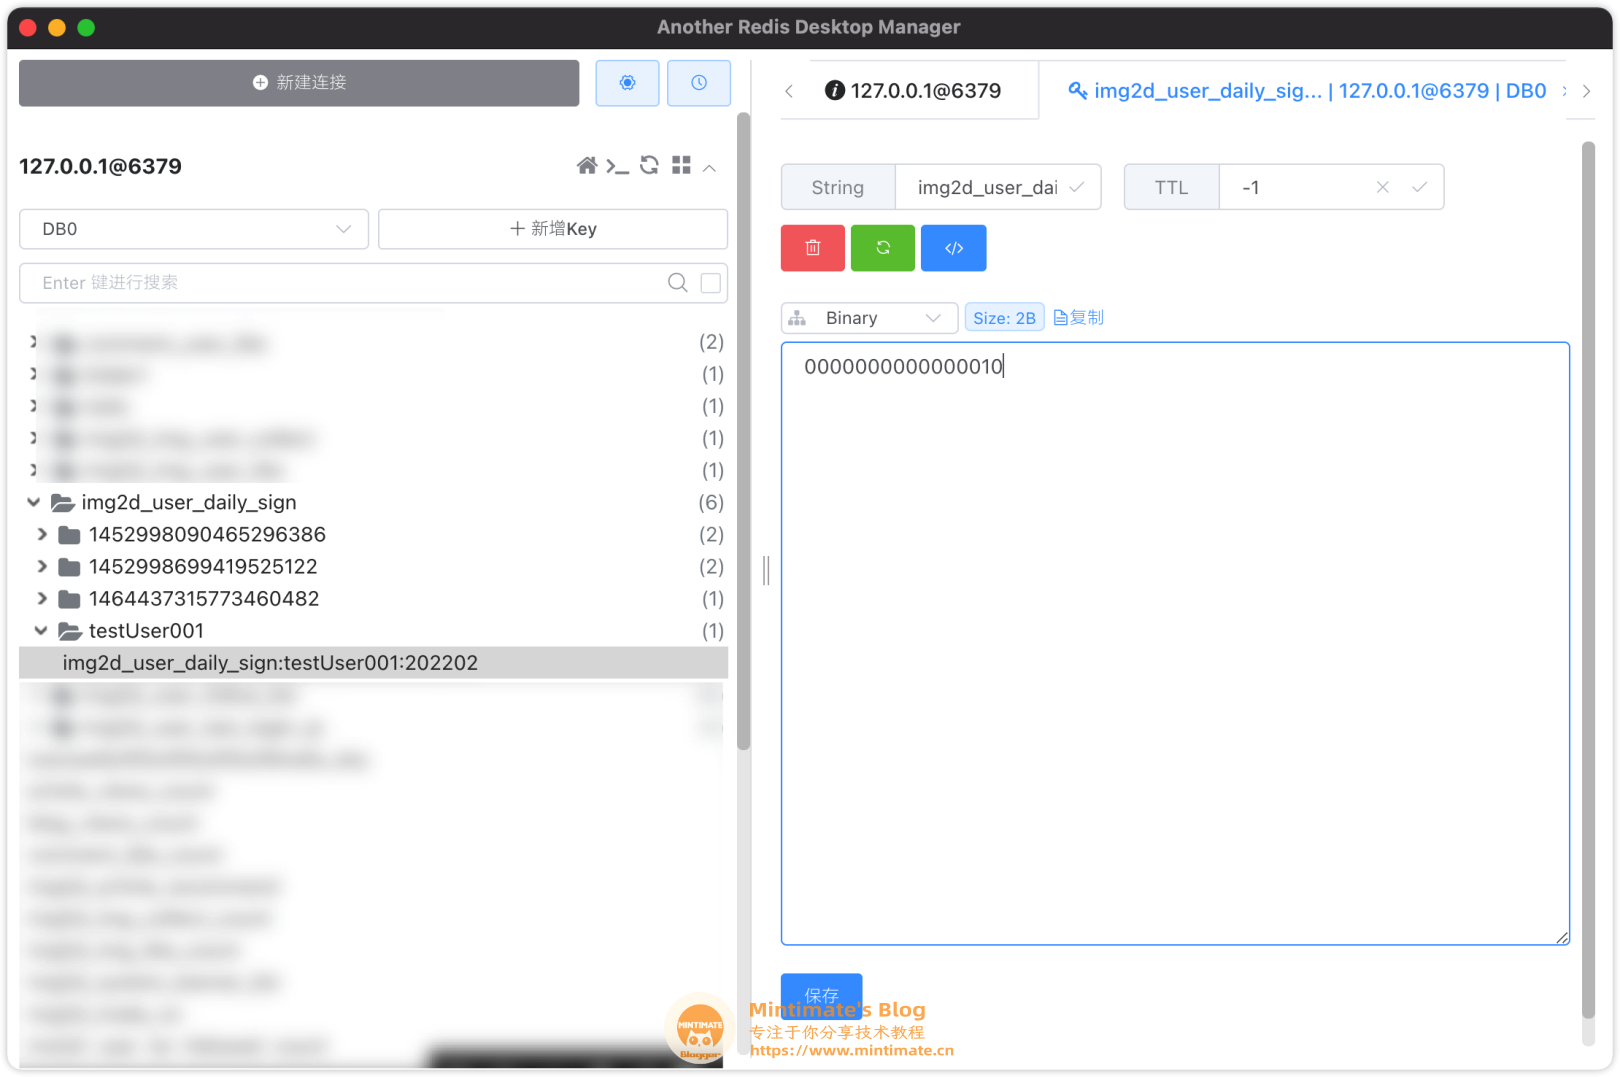
到此,后端的Redis就写好了。
前端渲染
后端怎么设计API,前端怎么请求API数据,这类基础方法,这里就不再赘述。直接处理,前端怎么渲染签到天数。
我们这里根据后端写的代码,请求的月份签到,可以直接用前文的签到详情获取。
数据处理
因为,我们获取的数据,会自动忽略前面的零,举个例子,二月份我们只在15号签到,那么我们在2022-02-15这天获取的数据“签到详情”就是:
因为15号前并没有签到,全部为0,获取的数据就只有1了。
相对的,前端就需要给1前面补零:
1
2
3
4
| const today = new Date().getDate()
for (let len = (dateList + "").length; len < today; len = dateList.length) {
dateList = "0" + dateList;
}
|
当然,我这个是只统计当前日期所在月份当天前的签到情况,如果你想改成历史统计,注意修改代码。
之后,就是一段0和1组成的数据,比如:
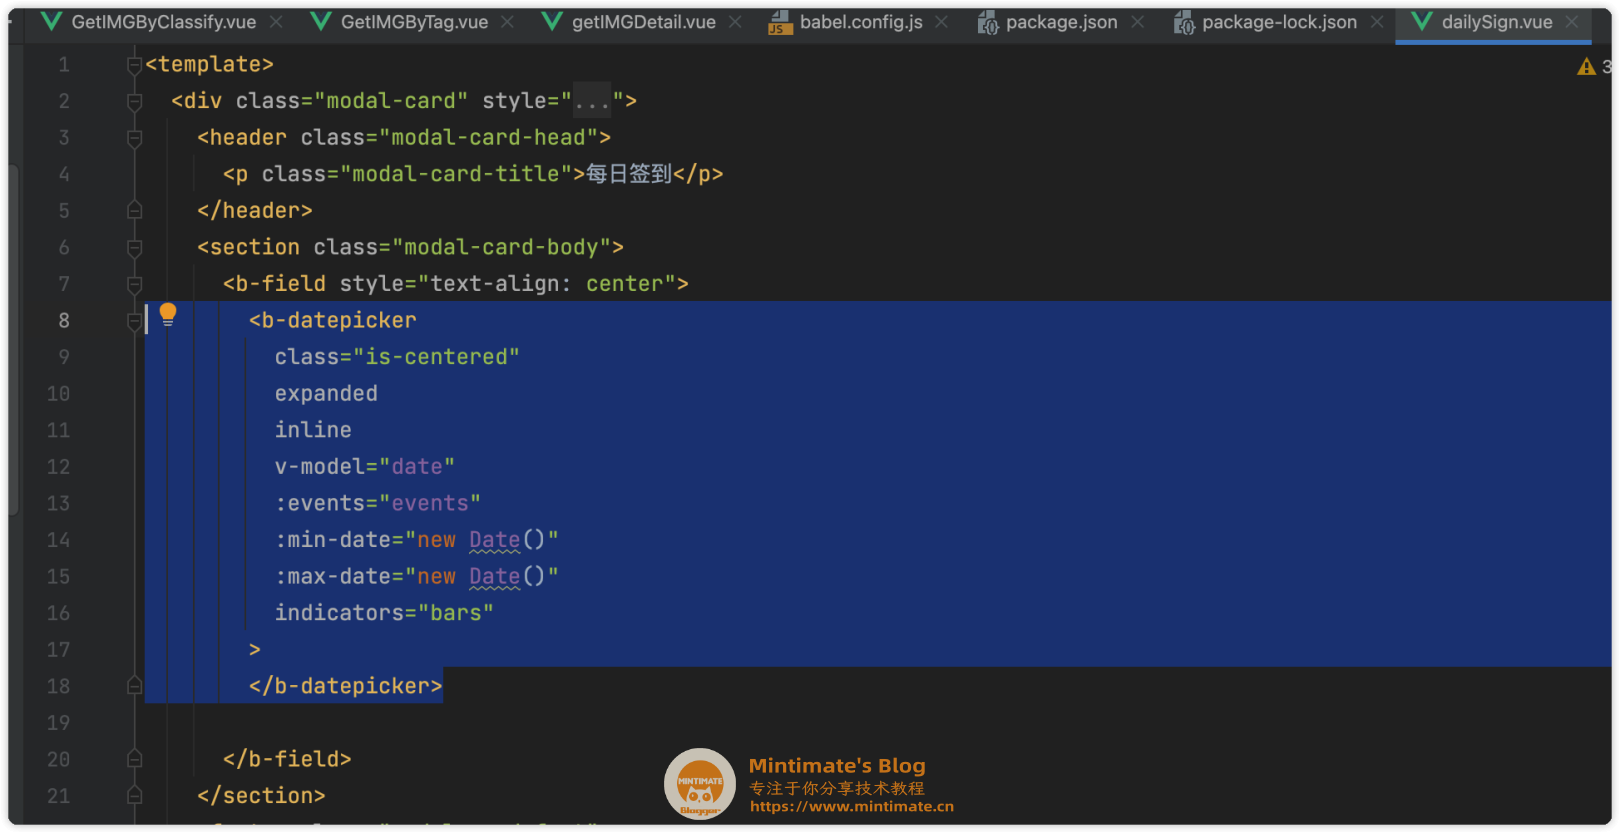
数据渲染
我们使用Buefy的日期组件:
1
2
3
4
5
6
7
8
9
10
11
| <b-datepicker
class="is-centered"
expanded
inline
v-model="date"
:events="events"
:min-date="new Date()"
:max-date="new Date()"
indicators="bars"
>
</b-datepicker>
|
使用效果:
在将刚刚的数据处理后结果二次处理:
1
2
3
4
5
6
7
8
9
10
11
| for (let [index, value] of dateList.split("").entries()) {
if (value == 1) {
if ((index + 1) == today) {
this.isDisabled = true
}
this.events.push({
date: new Date(thisYear, thisMonth, index + 1),
type: 'is-success'
})
}
}
|
最后效果:
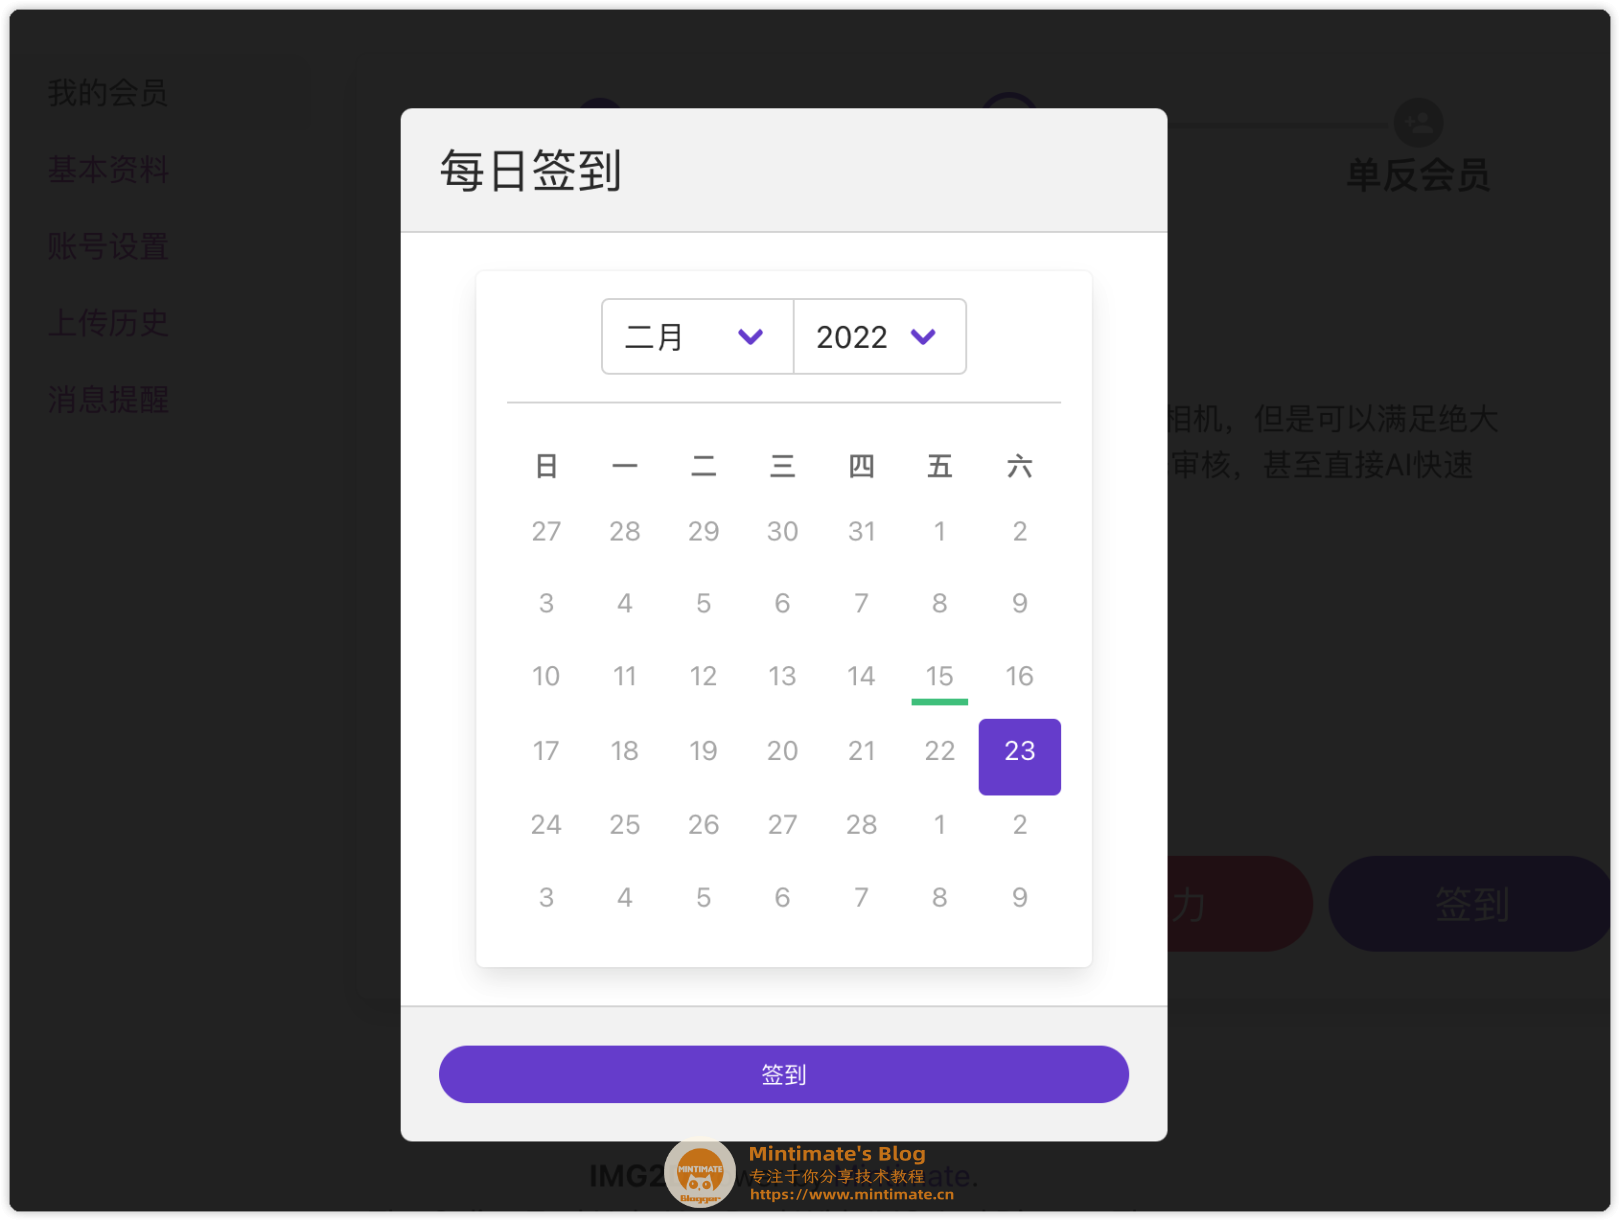
END
到此,我们的签到功能就设计好啦~~是不是还是挺简单的。
当然,有更好的完善方法,就要看自己的业务需求进行更改了。其实Bitmap位图,在布隆过滤器里用的更频繁,有机会也和大家分享一下。